
Step 1: Select the Image
Click directly on the image you want to replace.
The Elementor panel will appear on the left.
Step 2: Replace the Image
In the Content tab, find the Image field.
Click on the image thumbnail.
Choose:
Upload Files to upload a new image, or
Media Library to select an existing image.
Click Insert Media.
✅ The image will be replaced instantly on the page.
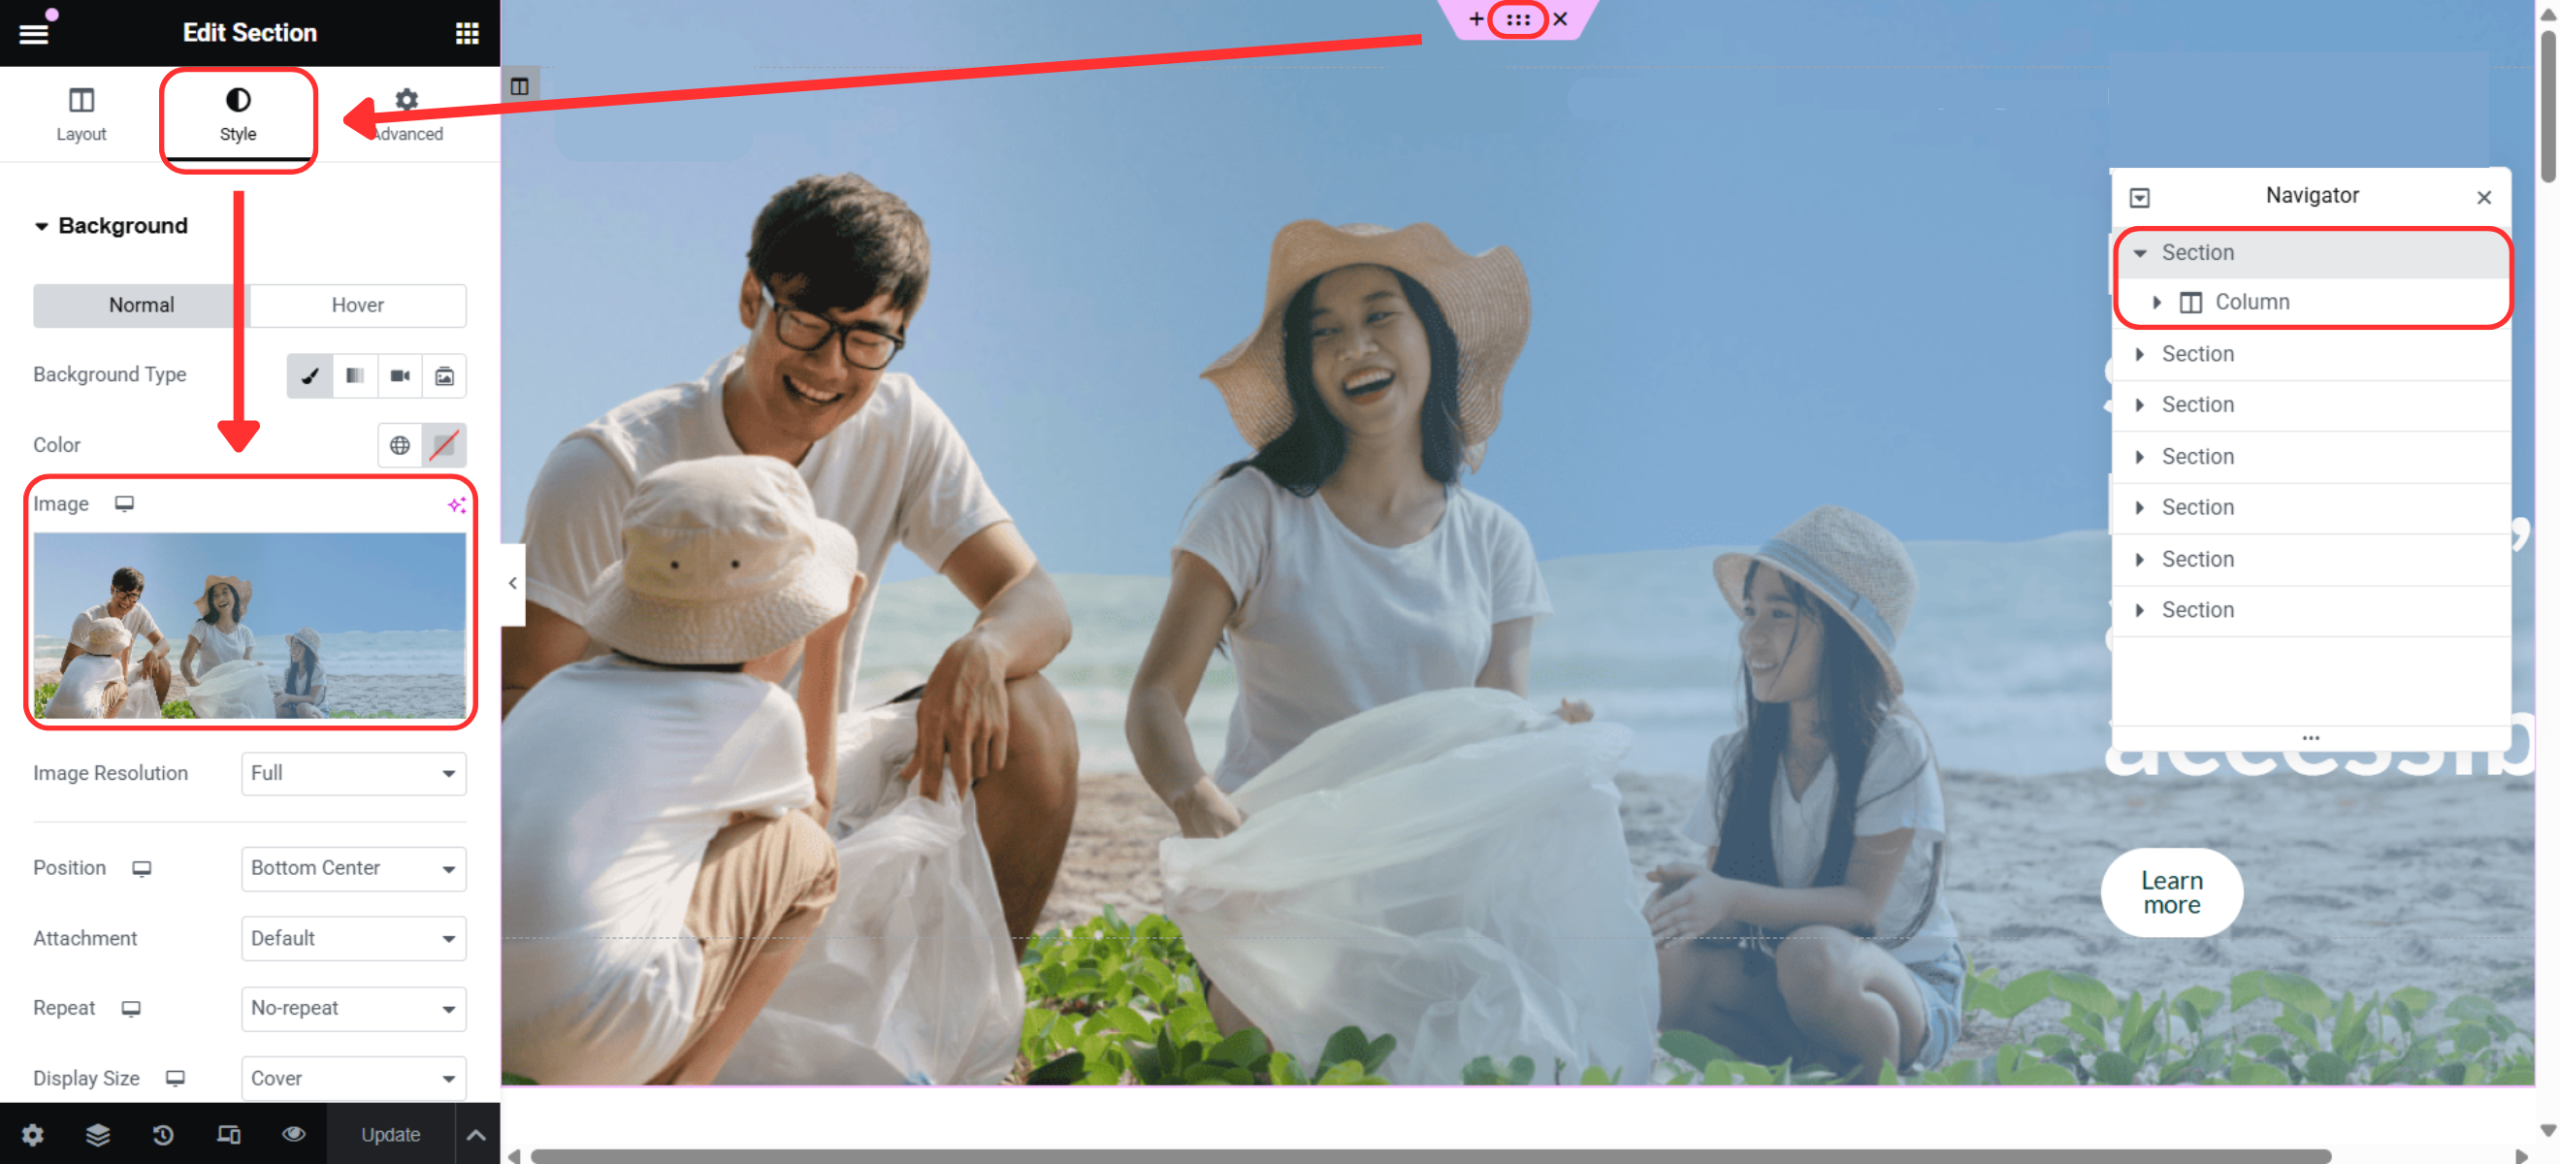
Step 1: Edit Section / Column
Click the Section (6 dots) or Column icon.
Go to the Style tab.
Select Background.
Replace the image under Background Image.
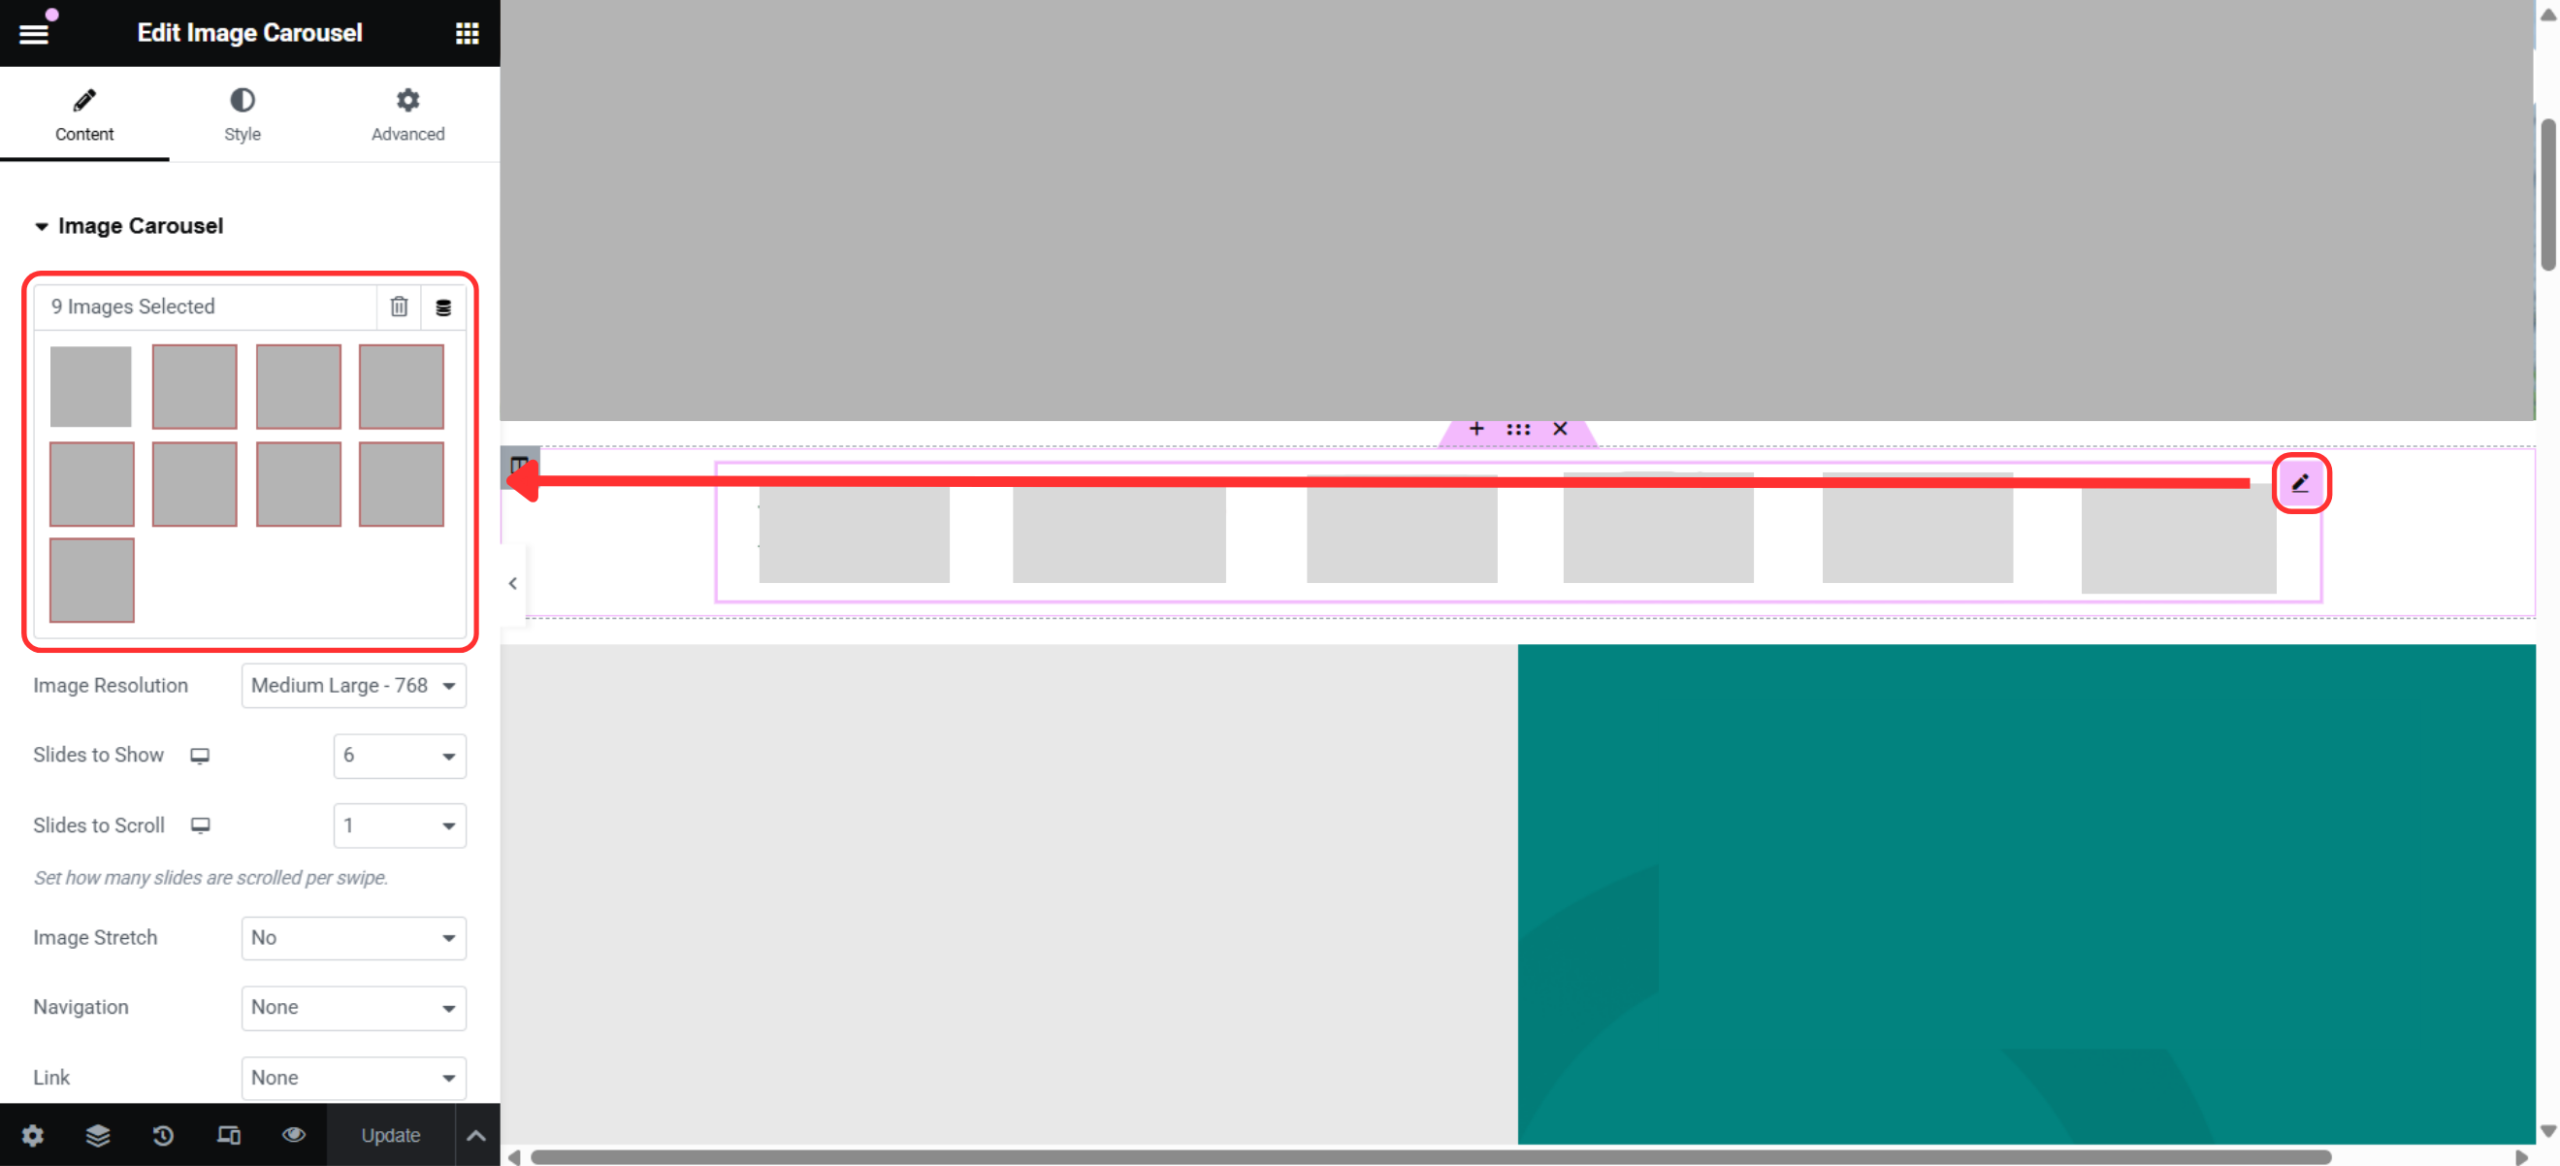
Step 1: Select the Image Carousel Widget
Click on the Image Carousel widget.
The Elementor settings panel will open on the left.
Step 2: Replace Carousel Images
Under the Content tab, locate the Images section.
You will see a list of images used in the carousel.
Click on an image you want to replace.
Choose:
Replace Image to upload a new image, or
Media Library to select an existing image.
Click Insert Media.
Repeat these steps for each image you want to replace.
Add or Remove Carousel Images (Optional)
Add Image: Click Add Item to insert a new image into the carousel.
Remove Image: Click the X icon next to the image you want to delete.
Reorder Images: Drag and drop images to change their order.