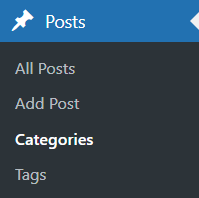
Step 1: Navigate to Categories
From the left sidebar, click Posts.
Select Categories.

Step 2: Add a New Category
On the Add New Category section:
Name – Enter the category name (e.g. Blog, Product Updates).
Slug (optional) – Auto-generated if left blank.
Parent Category (optional) – Select a parent if this is a sub-category.
Description (optional) – Used by some themes for display.
Click Add New Category to save. Your new category will appear in the list on the right.
To apply a category to a post:
Go to Posts → All Posts.
Click Edit on the post you want to update.
In the Categories panel (right sidebar), tick the relevant category.
Click Update or Publish.

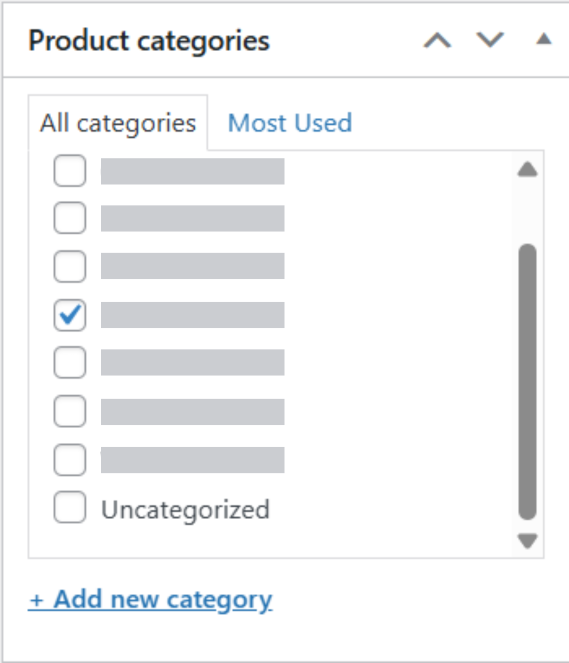
💡 Tip: You can assign multiple categories to a single post if needed.

To manage existing categories:
Go to Posts → Categories.
Hover over a category name.
Click:
Edit – Change name, slug, or description.
Quick Edit – Edit basic info quickly.
Delete – Remove the category.
Deleting a category will not delete posts — they will be reassigned to Uncategorized.